Absolutely! While the last blog post was from 2024, it does not mean that this project hasn’t been worked on. We actually have done a ton of work over the past 2 years, but our primary method of keeping the OpenHarrier community up-to-date is via our Facebook group and, to a lesser extent, our Discord.
Let me fill you in some of the things that have happened since 2024…
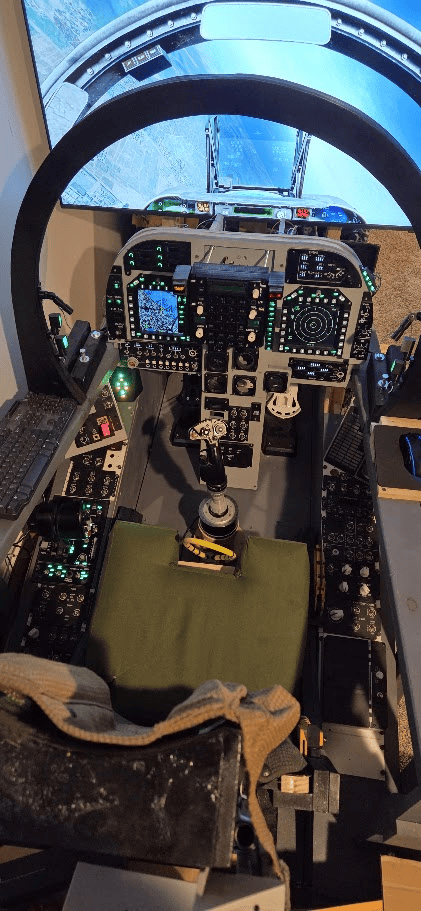
First and foremost, the founder and primary contributor to the OpenHarrier poject (me, the author of this blog post) has finally moved the “official” OpenHarrier cockpit frame from the garage where primary lumber construction was conducted, to the basement, where the cockpit starts coming “alive”. This happened in the summer of 2025. Before bringing the cockpit into the basement, surfaces were painted a dark gray with the main console and center pedestal surfaces being painted a light gray.
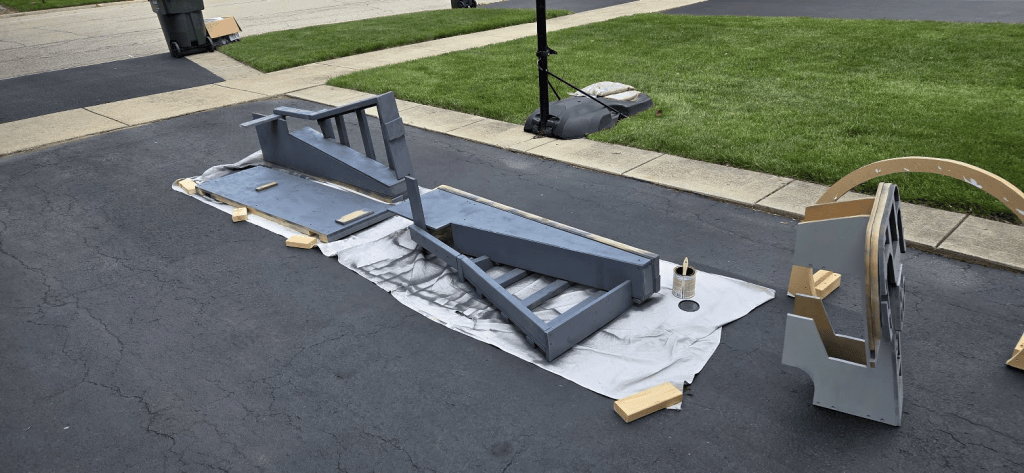
Note that the side consoles are still what I consider to be the “Gen-1” version. There will be a “Gen-2” version that has curves on the outside of the cockpit shell to allow the cockpit to look more like part of the Harrier fuselage.
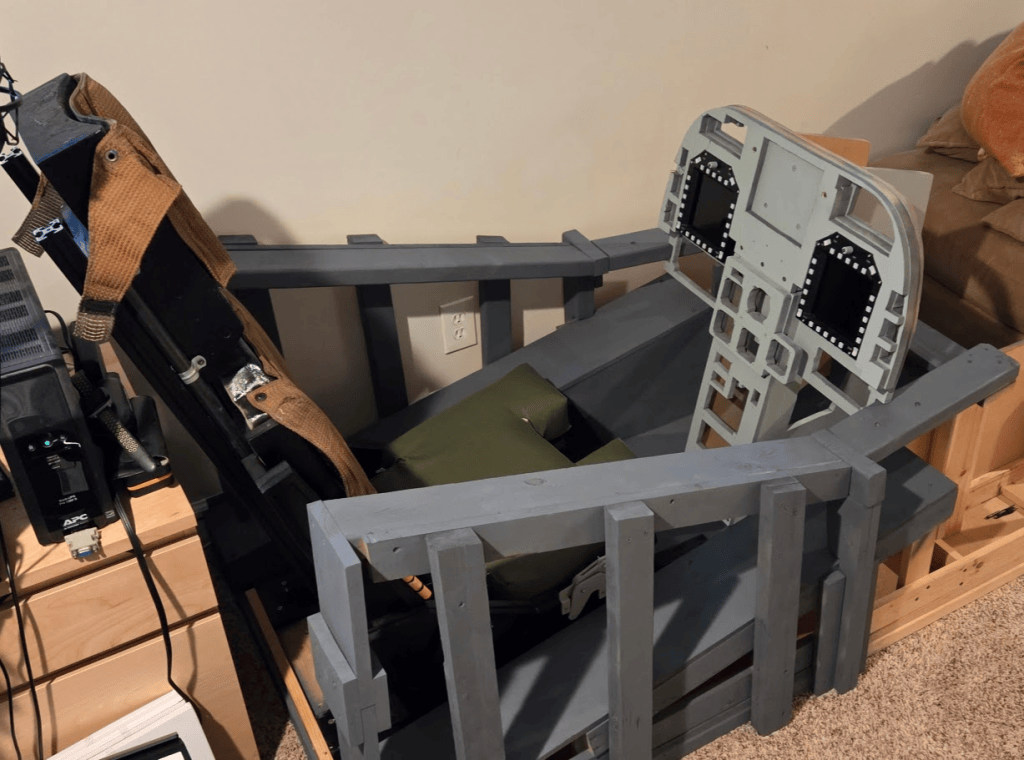
Over the next year, I started designing and making the various panels to fit the cockpit, and began working on the electronics and wiring to make them start to come alive. Initially, many of the panels were laser cut and laser engraved so that they can be made to light up with back lights. As time progressed, and with the purchase of a much better 3D printer, I started 3D printing temporary panels in a white PLA with raised lettering and markings. These get painted black and then the covered markings are lightly sanded to reveal the white. These panels cannot be backlit, but I consider these placeholders that allow me to get the cockpit up and going and fully functional faster. This is because I do not own the laser cutter – I have to schedule time at the library and do my laser cutting work in chunks of 1 hour at a time, and it is only available on a few days each week. Eventually all of the 3d printed panels will get replaced with laser cut & laser engraved acrylic. Rest assured that all of the modeling in CAD (we use FreeCAD) is applicable to either type of panel. You can use the work we have done to make either type!
As such, I have not yet backlit anything. That will probably be one of the last things I work on. Here’s a few pictures of the current state of the official OpenHarrier cockpit:
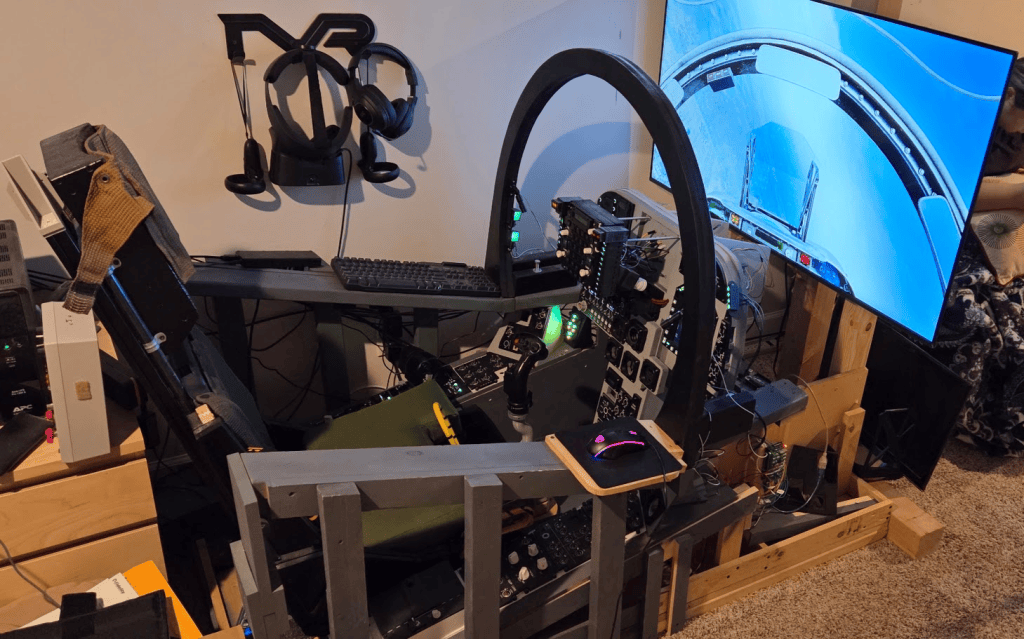
Here’s my 7 year old son doing a little air to air combat…
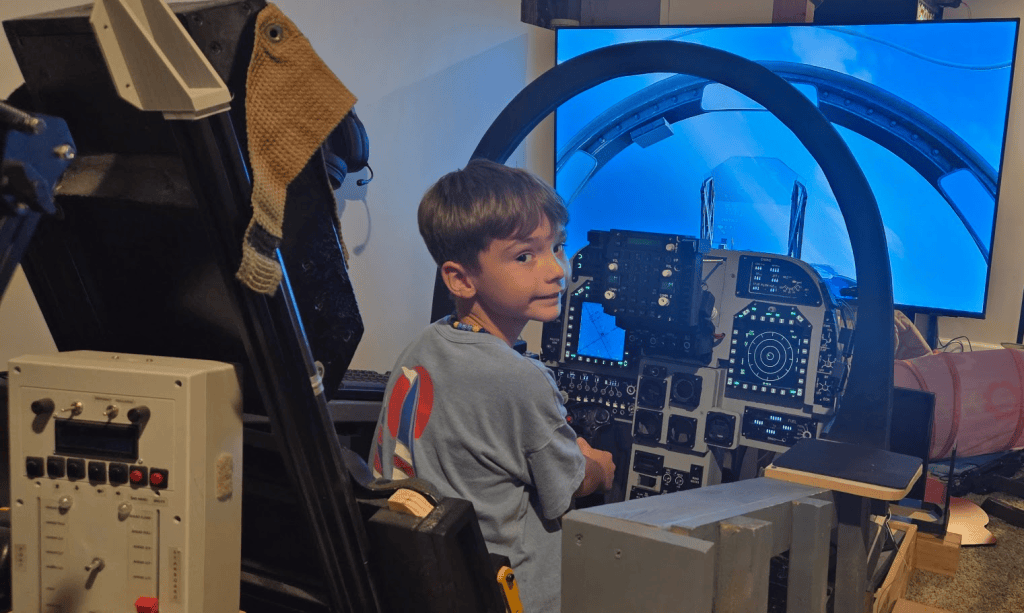
The UFC is fully functional, including all of the indicator lights!
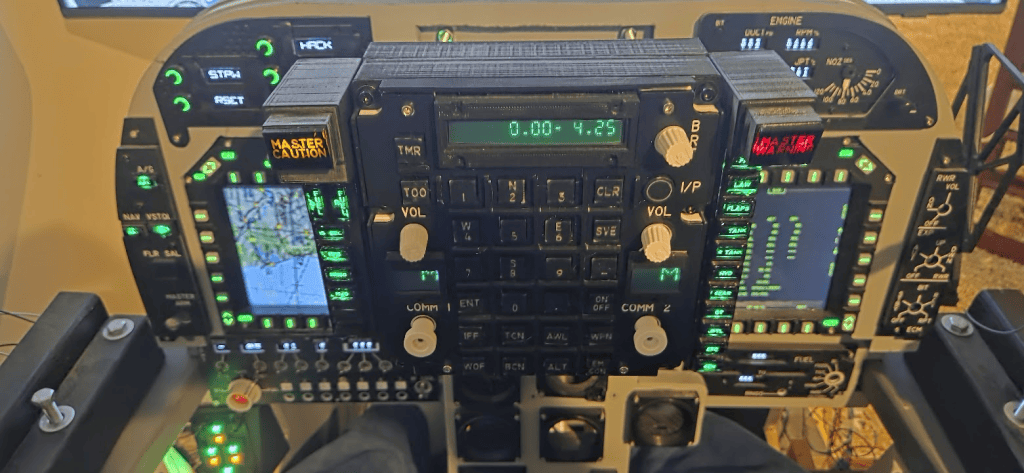
The number displays on the engine panel, fuel panel, and ACP, and the character displays on the ODU are all functional and all use OLED displays. The number displays have a rendered appearance that simulates what the real number drums look like when they rotate. This is done entirely in code on the Arduino microcontrollers that drive these panels, and the code for all of this is shared on our GitHub repository.
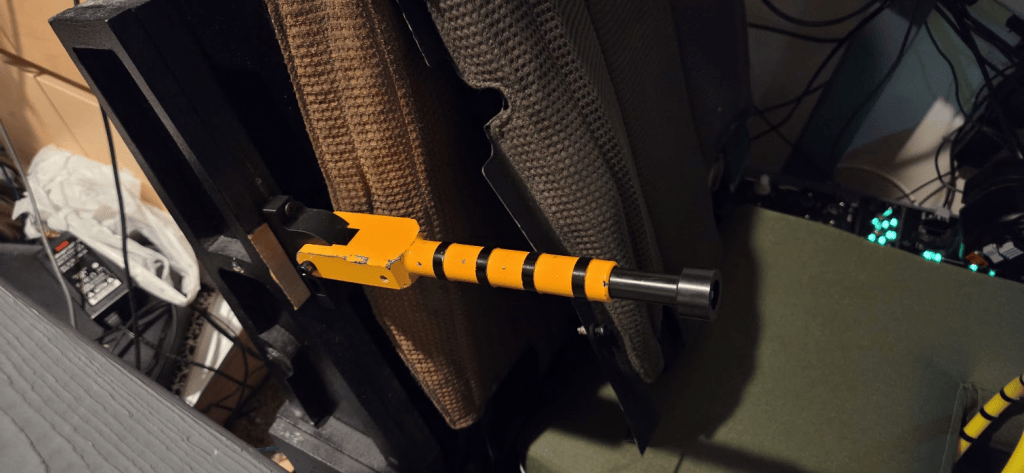
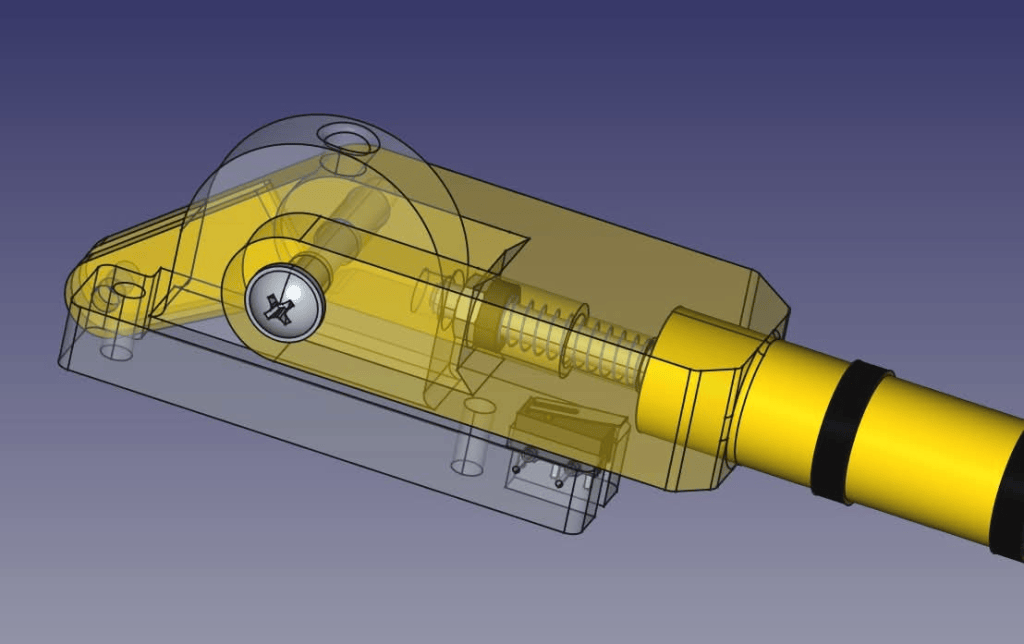
I have also acquired a few real Harrier parts, and for every part I acquire, I model it in FreeCAD so that others can recreate the part. An example is the ejection seat arming/safe handle. I have in my possession a real one, but I also modeled it and 3D printed a working version that even has the spring loaded latch so that you must pull the black part out in order to move the handle. And there is a contact switch embedded in the mount that detects whether the handle is the arm or safe position, and sends that to the sim. And that mount works for both the 3D printed version of the handle and the real version!
Here are a few other videos to enjoy:
Work in progress on ADI instrument. This will be factored using bearings and stronger stepper motors for smoother and faster movement:
As always, if you want to see the latest of what’s happening on the OpenHarrier project, or want to try building some or all of this yourself, find us on Facebook here:


Leave a Reply