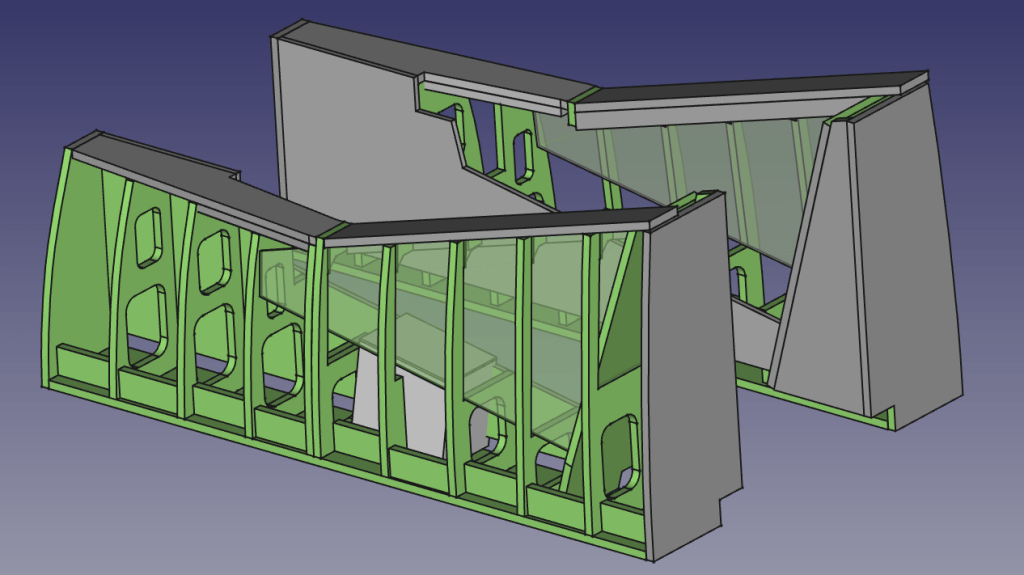
I have decided to rework the left and right side console structures. This has been nagging at me for over a year. I have wanted to approximate the outside fuselage skins for some time to make the outside of the cockpit more authentic. Additionally, I have wanted to make the inside of the structure more realistic as well. For example, I previously had used 2×4’s for the canopy sills. While this is strong and beefy, it’s also readily apparent that it’s a cheap 2×4. I wanted something that has sharper edges.
After studying the OpenHornet consoles a bit (mostly from watching A Hornet’s Nest YouTuber), I decided to redesign the left and right structures from scratch, utilizing some of the same design techniques used in the OpenHornet. For example, building these structures will now require some 3D printed parts (brackets and spacers between frame members).
I also wanted to accomodate the Engines-designed all metal Harrier throttle from HoverStop, since I will be acquiring one of these for my own cockpit. Since I know the dimensions of the enclosure of thos throttle, I can build a “slide in” pocket so that the throttle can be dropped in place for installation. The cavity will still allow for other throttles to be used as well. In fact, it should be easy to design an optional shelf for the Warthog throttle, for example.
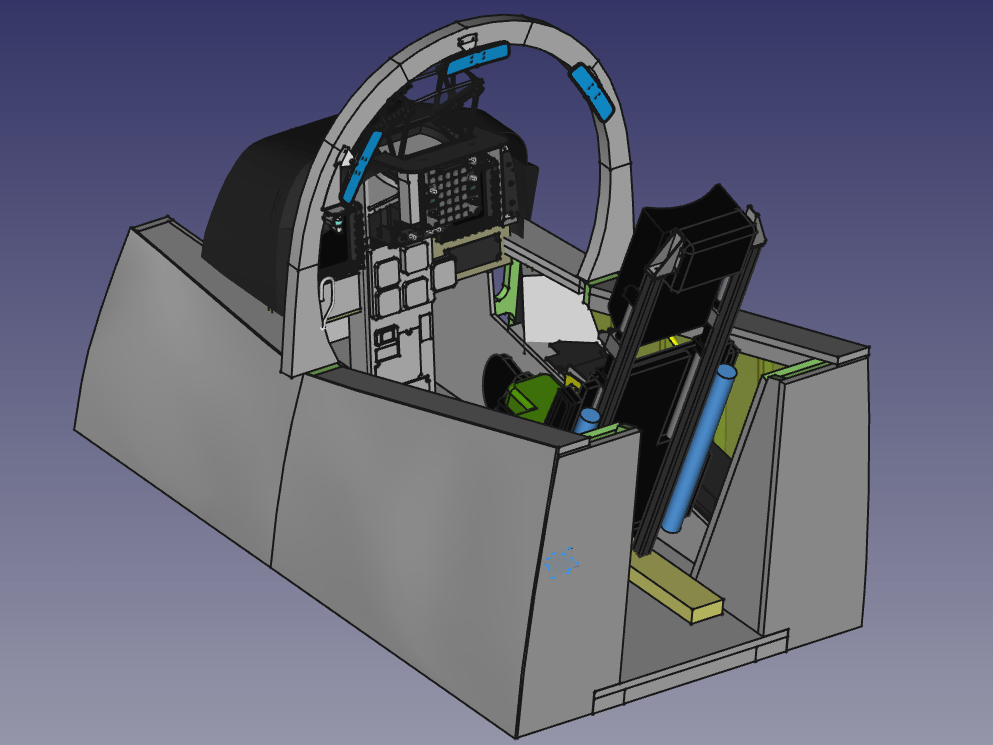
This is still a work in progress, but here’s how things look after spending nore than 24 hours on it…
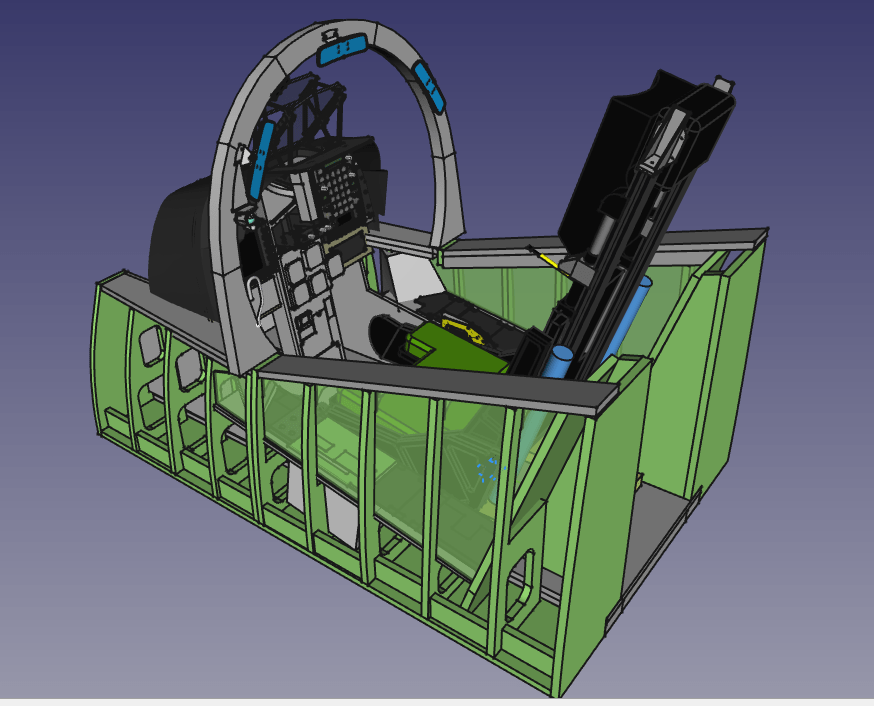
I will need to redesign the canopy ring as the fuselage structure no longer matches up with the unrealistic wide ring. I had beefed up the ring because I was worried about it snapping when being grabbed by someone climbing in or out of the cockpit. I am thinking about designing a plasma cut metal ring and ordering that from a fabricator, which would look bettee and be more accurate. There is also the possibility of just trimming down what I already have with a band saw and adding some metal to the frame underneath supporting the ring for added strength. I will come up with something.

Leave a comment