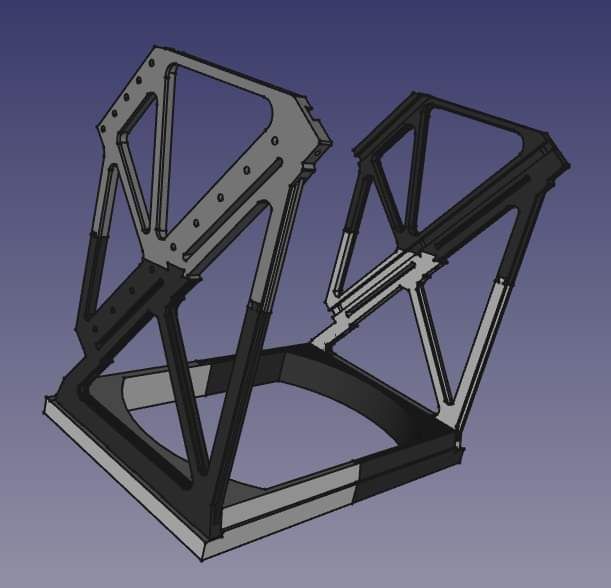
This past weekend, I spent many hours redesigning the HUD frame to make it more realistic. The previous version had been designed using the DCS Harrier as reference. As it turned out, the HUD in the DCS version is lacking some details. Because the HUD will not fit on my 200x200x200 3D printer (I’m using an old Maker Select V2, which is a Wanhao i3 Duplicator clone), I needed to design it to be printed in pieces that fit together. I’ve left the uncut parts available so someone who has a print bed that is large enough can print just the base and the 2 sides as 3 parts. For others like me, there is a version that is cut into 6 parts: 2 parts for the base, and 2 parts for each side.
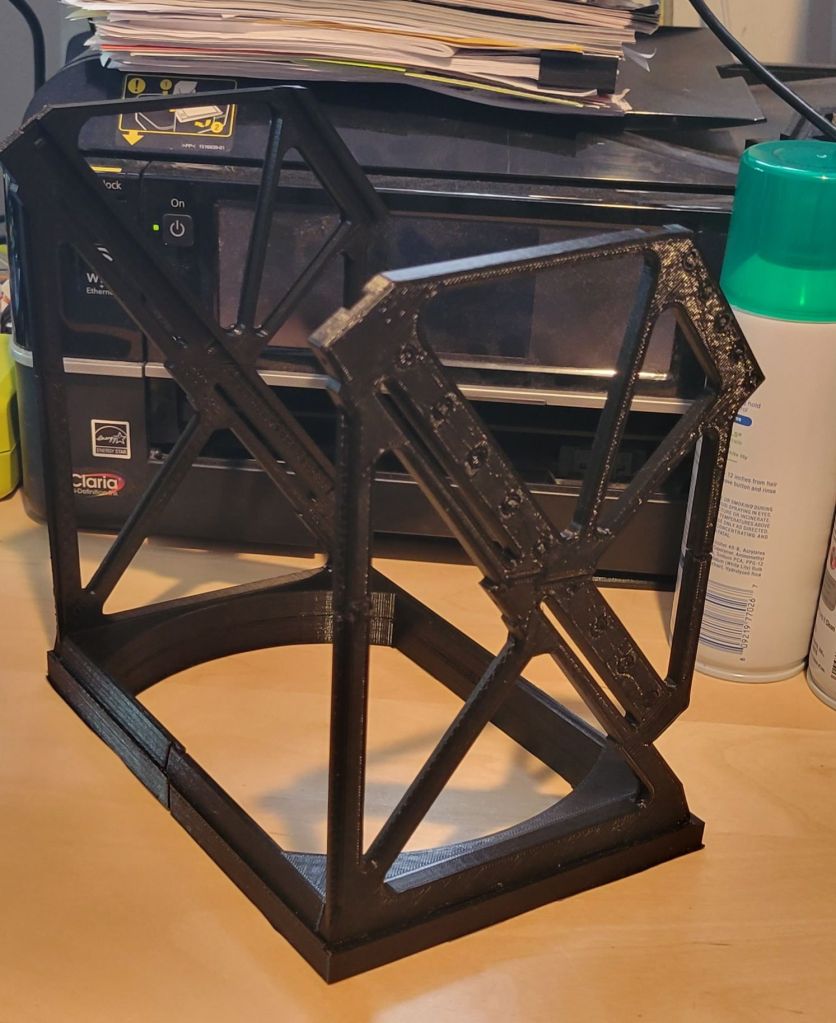
Off to printing the parts… I was able to print both base parts in 1 go by placing both parts on the print bed and arranging them to overlap. This took a whopping 17 hours to print. While the printer is indeed capable of printing faster, I’ve just not had much success at higher speeds, so I’ve significantly reduced print speed to getter a better quality print. Which of course… makes for some very long print times. Ugh. I need a better 3D printer.
Unfortunately, by the time I got to printing the 3rd part, I was having severe problems with my 3D printer. At the time, I thought the filament was snagging. So I spent hours trying to prevent snagging. I tried moving the spool to different locations. I tried using some 1/4″ airline hose to guide the filament. I tried a whole bunch of things. I would initially start getting a good 1st layer, but halfway into the layer, things would start going south.
I finally realized that the issue isn’t with the filament snagging. My next thought was that something was wrong with the extruder. Maybe the drive gear has material built up on it and it’s slipping or no longer able to pull the filament as well as it was before? I disassembled the extruder (which I had previously upgraded to all metal parts) and it was fine. I manually loaded and loaded filament again and again and it was working perfectly in my hand. I put it all back together and started printing a “Benchy”. For those of you who aren’t familiar, a Benchy is a little plastic boat model that is used to stress test any 3D printer because it will only come out properly if everything is dialed in properly. I only let it print the first 5 or 6 layers and it seemed like it was perfect. I stopped the print, scraped it off, and inspected the partial Benchy. It looked good. I tried to print the next part of the HUD yet, and sure enough, halfway through the print, it stopped extruding.
At this point, I was coming to the conclusion that the nozzle is the culprit. I was still running the original nozzle (as far as I can remember) from when I bought the printer almost 5 years ago. I took the nozzle off and tried to clean it up, but I couldn’t get the gunk out of there, even with heating it up using a 405 degree C hot air reworking station. I gave up trying to clear it and have ordered a set of replacement nozzles.
I had to wait a few days for the new nozzles to come in. When they did, I installed one, releveled the print bed, and voilà, just like that, I am printing again!
The next step on the HUD will be to laser cut some clear acrylic into 2 slabs that will serve as the “glass”. Astute folks with knowledge on fighter jet HUDs will know that the real glass used has an anti-reflective coating on them to prevent reflections from the cockpit. I probably will not bother to obtain this as that may be a bit overkill. Also, the glass should be cut with an interesting angle that I will not be able to accomplish with a laser cutter. I may try to sand the edges to that angle using a disc sander, but I am not sure how it’s going to come out. That will be a later task.

Leave a comment